
Work With Warranty Templates
Table of Contents
Warranty Templates help you standardize warranty terms and conditions for specific inventory items (i.e., Products and/or services).
If you want, you can charge your customers for warranties as separate Invoice line items.
View, Create, or Edit Warranty Templates
To view, edit, or create Warranty Templates, follow these steps:
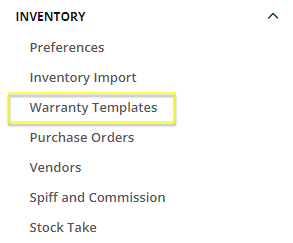
- Navigate to Admin > Inventory - Warranty Templates:
The Warranty Templates table displays: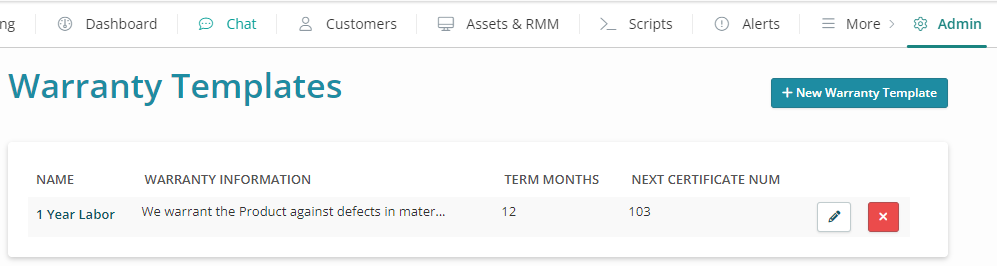
- To view and/or edit an existing template, either click its hyperlinked Name, or the Edit (pencil) icon. The Edit Warranty Template page displays, allowing you to make any changes:
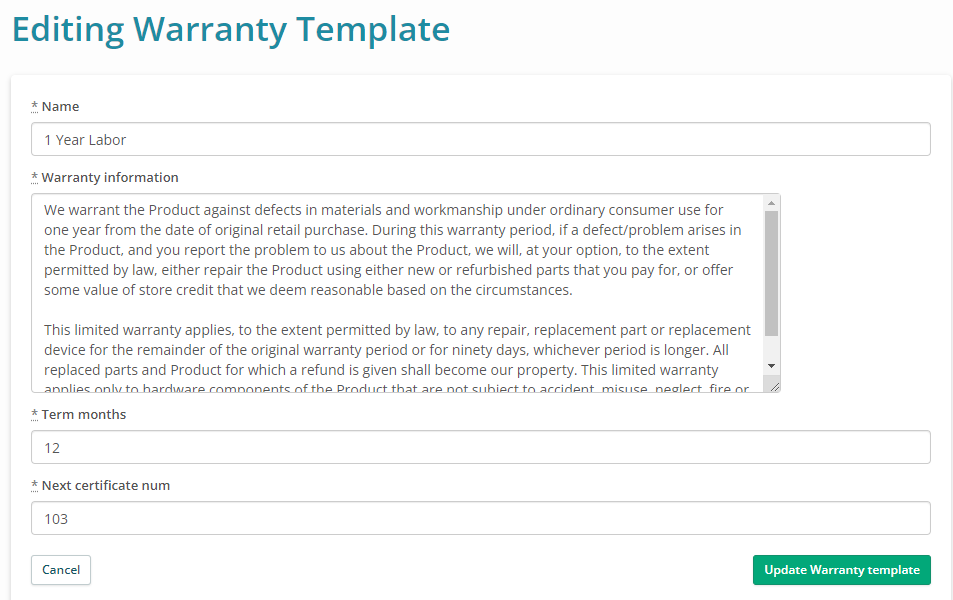
- Click Cancel or Save Warranty Template to return to the Warranty Templates table.
- To create a brand new template, click +New Warranty Template.
- On the New Warranty Template page displays, enter values for the fields (all are required):
- A Name for this warranty
- The Warranty Information you want to convey to your customers
- The Warranty Term (in months)
- A number for the next Warranty Certificate that Syncro generates
- Click Create Warranty Template. A confirmation page appears:
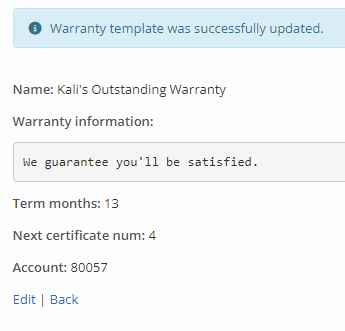
- Click Back to redisplay the Warranty Templates table, or Edit to make more changes.
- On the New Warranty Template page displays, enter values for the fields (all are required):
Tip: You can also see a running list of all open warranties under Reports > Warranties, using the “Warranties By Expiration Date” link:

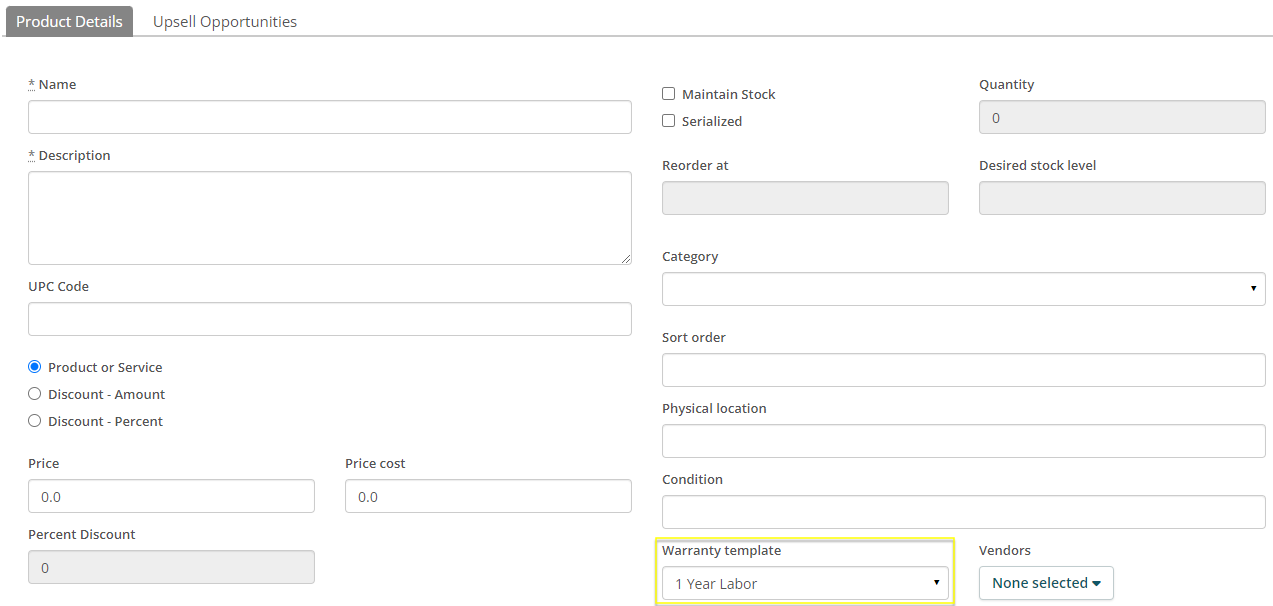
Then whenever you create or edit a Product, you can select a Warranty Template to associate it:
Charge Customers for a Warranty
To charge your customers for a warranty, you'll first need to create it as its own Product.
- Navigate to Products & Services. The Products table displays.
- Click +New Item. The New Product page displays with the Product Details subtab selected:
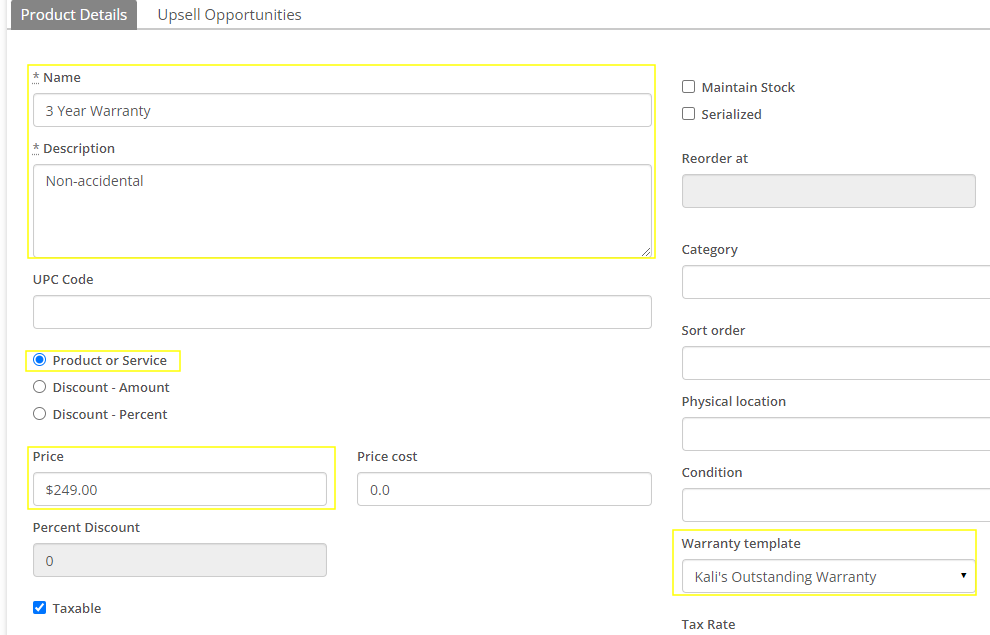
- In the Name field, enter a name for your warranty (e.g., “3 Year Warranty”), and provide a Description.
- Verify the “Product or Service” radio button is selected.
- In the Price field, enter the charge you want for your warranty.
- In the Warranty Template field, select the Warranty Template you previously created.
- If desired, supply values for other fields on the page.
- Click Create Product. Your warranty product appears in the Products table.
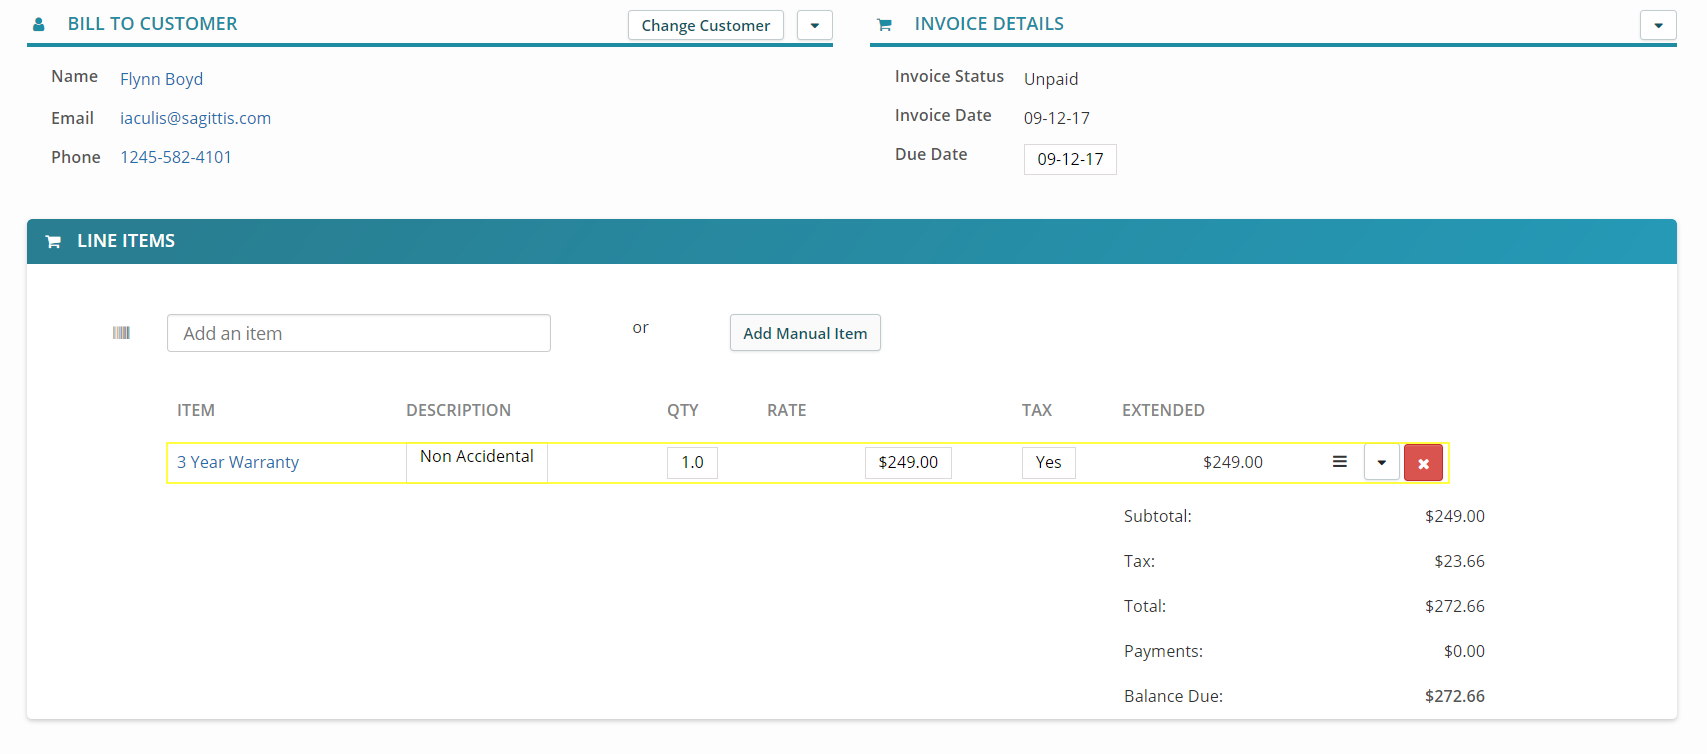
Then you can add the warranty as a line item to future invoices:
And after the Customer pays, the warranty will be displayed on the Customer's Details Page:
