
Microsoft Outlook Calendar Integration
Table of Contents
Syncro uses Microsoft's OAuth-based integration system to facilitate the most secure and solid calendar integration possible. Unlike other systems, we store a token that's only allowed to access your calendar, not your entire Active Directory domain credentials.
Video
Watch this short video to learn more:
What Syncs & What Doesn't
The Syncro-Outlook integration provides you with a two-way sync that allows you to:
- Add appointments in Syncro that show up on your Office 365 calendar (and vice versa)
- Update appointments in Syncro, with changes reflecting on your Office 365 calendar (and vice versa)
- Delete (Cancel) appointments from your Office 365 calendar, with changes reflecting in Syncro (and vice versa)
- Recurring appointments, including historical meetings that predate the integration setup, backfilled when you connect or relink your calendar.
- Out-of-office status, read from a technician's Outlook calendar. This reflects time blocked on the calendar as Out of Office, not the Outlook automatic reply (vacation responder) setting. If a technician turns on an automatic reply without also blocking that time on their calendar, their Syncro calendar won't show them as out of office. When a technician is formally out of office, the dispatch agent sees that status before routing a ticket to them.
- Working hours, fetched from your Outlook calendar configuration. Syncro uses this to prevent after-hours ticket routing for shift-based teams. (Outlook only.)
Notes:
- Office 365 Home is not supported by the integration at this time.
- To one-way sync your Syncro calendar to another calendar, see About Calendar Tokens.
Set Up the Syncro-Outlook Integration
Notes:
- You must have an Office 365 Business/Enterprise account with administrative privileges to complete these steps.
- Each individual Syncro User/tech must authenticate their own Outlook calendar.
To integrate your Microsoft Outlook calendar with Syncro, follow these steps:
- From your Syncro User Profile menu, select My Calendars.
- Choose the Microsoft Outlook Calendar option:

- Log into your Office 365 Business/Enterprise account where you have administrative privileges:
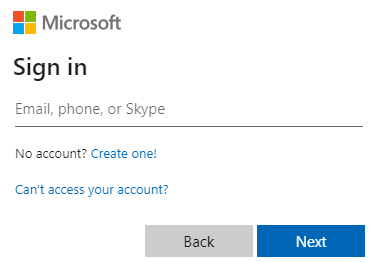
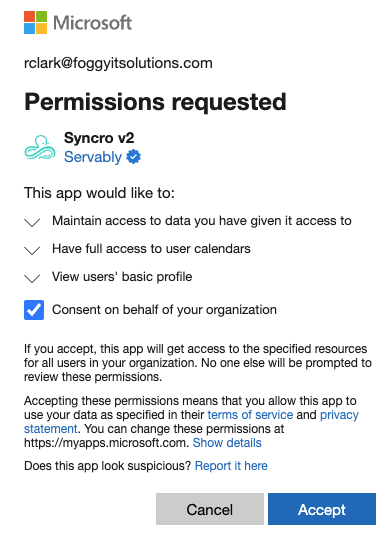
Note: You can't log into a personal Microsoft account for this integration. - On the Permissions Requested screen, check the “Consent” box, then click Accept:
- On the pop-up that appears, click Calendar:
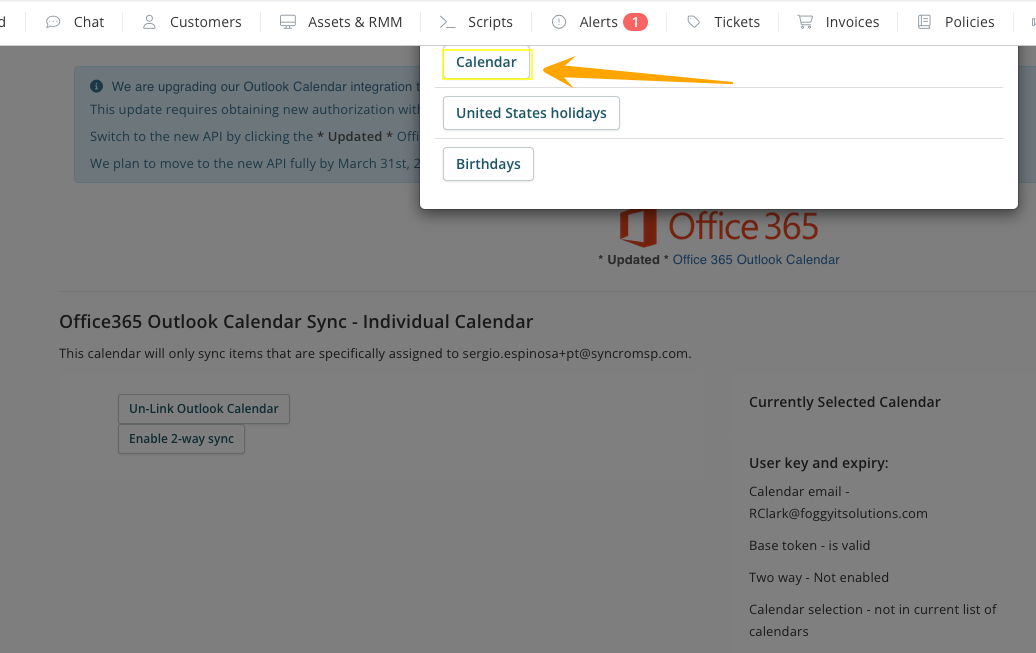
Tip: To get a clearer view, click the caret in the upper-right corner to minimize the header so it shows only the Primary Navigation bar. - When the pop-up closes, click Enable 2-Way Sync:

Note: If you don't click Enable 2-Way Sync, the integration is still active, but will operate only in one direction (from Syncro TO Outlook). - You can now schedule appointments from either Syncro or Office 365:


Note: The Syncro calendar will only sync appointments specifically assigned to the User/tech (who set up the integration), via their email address.
Tip: [O] or [S] in the appointment title helps you identify which system the appointment originated from.
Troubleshooting Outlook Integrations
500 Error Message
If Syncro displays a 500 Error during setup:

Make certain that you're logging into an Office 365 Business/Enterprise account where you have administrative privileges.
This error may display if you attempt to log into a personal Office 365 account, or one without the appropriate permission levels.
Office 365 Is Not Syncing
If Office 365 is not syncing, follow these steps:
- Click on your name in the Syncro User Profile menu, then select My Calendars.
- Click the “*Updated* Office 365 Outlook Calendar" link/icon.
- Click Unlink Outlook Calendar.
- Now that the calendar is unlinked, click the Calendar button to re-add it (as described in step 6 above).
- Be sure to click Enable 2-Way Sync to turn this on.
Test Syncro-Outlook Syncing
To test syncing after making changes, follow these steps:
- Create a new appointment in Syncro, then verify the new appointment appears in Office 365.
- When it does, update the appointment in Office 365, then verify that the changes appear in Syncro.
- Create a new appointment in Office 365, then verify the new appointment appears in Syncro.
Note: There could be a delay at first, so be sure to wait a bit. If an hour has passed and the syncing still isn't working, please reach out to support.
Duplicate Recurring Appointments After Relinking
If you previously created recurring appointments manually in Syncro as a workaround for the recurring event sync limitation, relinking your calendar triggers a backfill of those events from Outlook. Syncro cannot match manually created entries to backfilled events, so both will appear. Remove the manually created duplicates from Syncro after relinking.